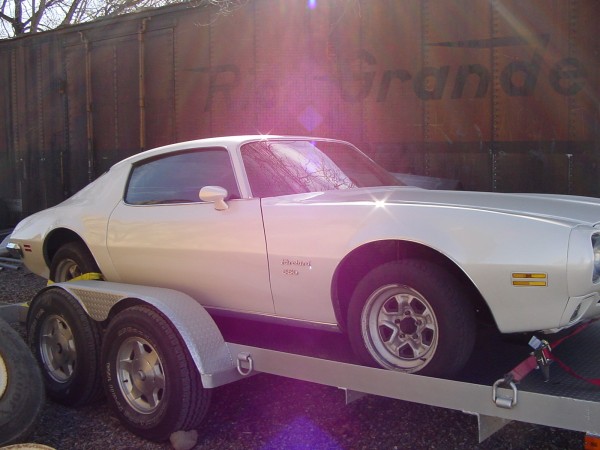
In Part 1, which was all about planning for your project, it was mentioned that you should locate and purchase your project vehicle. For this article, we will assume that you have done so and are in possession of the vehicle.

If you are like me, from the moment you got the vehicle home, you have been itching to dive into the tear down and to get started beating out the dents. First, you need to have a method in place for bagging and tagging all the reusable parts. For storing small parts, ordinary sandwich bags with the zip-lock work really well. You’ll need to have 100 or more on hand, as well as another 20 to 30 gallon size bags.
For the engine and transmission parts, you can go to a machine shop and, for just a few dollars, pick up a few very large, heavy duty bags.
Once you have your parts bagged up with the associated hardware, make sure to label the bag with a good permanent marker. Write down what is in the bag and where it came from, ie, “Passenger Door Panel”, or “Wiper Motor”. For those parts that are just too awkward to bag, my solution is to use green masking tape (sticks to just about anything) and write down where the part came from. It may seem silly to tag a large part like a door sill, but even a small notation indicating L or R can make a long day easier.

Now you may be wondering what to do with all those baggies! I use plastic tubs from one of the big box stores – they are fairly inexpensive and readily available in various sizes.
A typical tear down may require 10 to 15 tubs for all of the parts. I also try to group parts together in the tubs, which prevents me searching through every tub for similar parts. Here again is a great place to make use of your green masking tape. Just tear off a few strips and put them on the outside of the tub, and write down your project name, and list what the tub contains. Even if you only have one project in your shop, the project name keeps you from opening box after box of Christmas ornaments and old clothes before you find what you are looking for. I use shelving that I built in the corner of my shop to store items. If they are too big for my shelves – for example, seats or the engine – then they go to another storage building on my property.
I know it’s a bit of a buzzkill for me to talk about storing and organizing and labeling when all you want to do is get your hands dirty, but I can’t tell you how many good, usable parts I’ve had to replace because I couldn’t find them again when I needed them. This small thing is a big money saver and eliminates a lot of frustration!

You are almost ready to pick up those tools, but – if you haven’t already done so – you need to take a lot of pictures of the vehicle. No matter what you have; car, truck or tractor, get pictures of the interior, exterior, engine, underside, etc. When you do start taking things apart, take more pictures of the individual parts and the hard to see stuff. It makes it much easier to put it all back together if you have a visual to refer back to.
 Now, last but not least, you need to get a pen and paper and, as you pull parts off, make a notation of their condition. Are you reusing, replacing or refinishing? Parts that are being reused in their current condition get bagged and tagged and put away. Parts that need to be replaced should go on your “Parts Needed” list, and should be stored separate from your reusable parts.
TIP: Don’t get rid of the original until you know the replacement is going to fit. Parts that need to be refinished or repaired, but are reusable should go on another list and, again, be stored separately.
Finally, make a list of parts that are just plain missing! Luckily, missing parts are easy to bag up and take up very little space. Of course, they also tend to be the most expensive and the hardest to find replacements for!
Using this system, or whatever method you prefer, will help keep your project organized and on track. Now, get out there and power wash everything, take pictures, break out the tools and have fun
Jeff Allison
jeffery@allisoncustomsonline.com
PS – I have set up a forum at AllisonCustomsOnline.com. Take a look and load up a few pictures of your shop or your project. Thanks for reading!
